
Muse for Mac
Muse 2 for Mac and iPad is now available in beta to all of our Pro members. Check your Backstage Pass for installation instructions.
Muse 1 is an iPad app purpose-built for active thinking. Free of distractions and structure, Muse boards are a natural and intuitive workspace that help you stay lost in thought.
The vision for Muse 2 is to bring your boards to every computing device you use for work. Each device cues a unique mood and way of working. iPad, for example, is relaxed and informal; and it’s fun to work directly with your hands. And new for 2.0 is Muse for Mac.
Muse for Mac uses the same set of core concepts as its iPad sibling: nested boards, an open canvas, rich media content snippets, and so on. But it’s optimized for what the desktop does best: focused productivity, heavy research, and bulk editing.
If you’re a longtime user of Muse for iPad you’ll be right at home in the Muse 2 beta on iPad, since not much has changed. So for this memo, we’ll break down all the details on Muse for Mac.
Along the way, we’ll describe all the Muse fundamentals, just in case you’re new to Muse or haven’t used it in a while.
Cards and boards
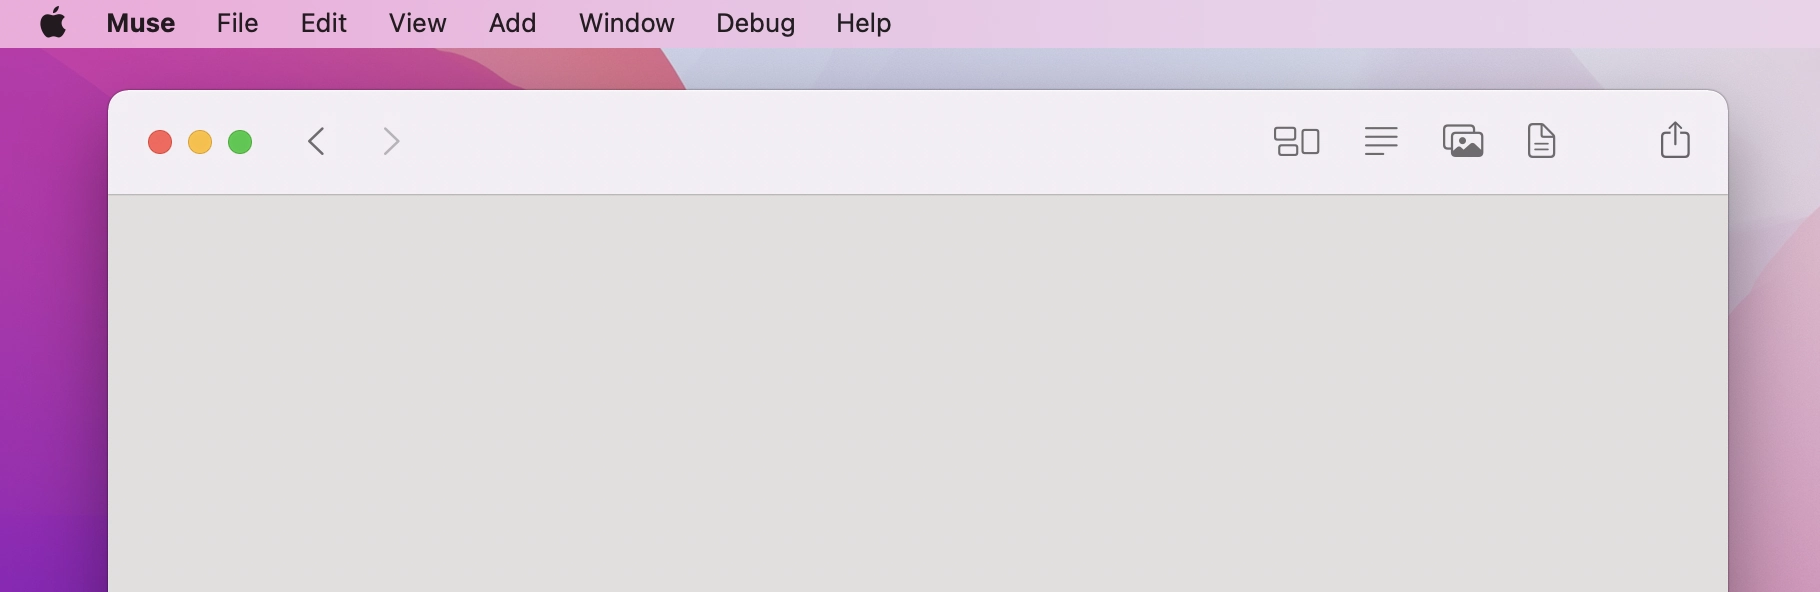
After you log in to Muse for Mac, you’ll be greeted by an open canvas. This is your home board.
Cards are the fundamental unit on the Muse open canvas. Text, images, links, PDFs, videos, tweets—all are a card. You can move, resize, duplicate, and delete any card regardless of media type in the exact same way.
Card manipulation
| Move a card or selection | Drag |
|
| Resize a card | Drag from the lower-right corner |
|
| Duplicate a card |
Context menu → Duplicate
⌘D
|

|
| Move to inbox |
Drag to left side of screen ⌥I
|
Boards are a special type of card that can contain other cards. Your home board is the starting place for everything else and it’s a board you can interact with like any other. But each time you want to start thinking about something new you’ll create a new blank board, zoom into that, and begin your work.
Board navigation
| Zoom in | Pinch in with trackpad Double-click on the board card, image, video, or PDF |
|
|
| Zoom out |
Pinch out with trackpad
Esc
|
||
| Pan around a board |
Two-finger scroll with trackpad Space bardrag
|
||
Once you’re in your new blank board, what now?
Creativity and problem-solving rarely starts with a blank page. Instead, you need an accumulated set of just-in-time creative inputs that will give context on the problem, inspire you, and help you see the whole picture.
This is where bringing in content snippets to your new Muse board begins. You might pull inspiration or mood items from your curation tools like Are.na or mymind. You might bring in notes from your second brain, such as Evernote, Roam, or Obsidian. Or clip links, images, and text from websites with the Muse browser extension.
Adding content
| Add a board |
Move the board card to where you want it and click to place. B
|
|
| Add a text note |
T
|
|
| Add photos |
P
|
|
| Add files |
F
|
Boards start in the upper-left but can grow right, down, or both as you add content. Place a card near the bottom of the board, and you’ll be able to scroll that much further to continue your process.
Selections
iPad and other touch devices give the pleasure of directly manipulating items onscreen with your fingers. But desktop computers tend to be better for bulk editing, and a big part of that is selecting many items at once.
| Select cards and ink |
Click anywhere on open board space and drag. |
|
| Add / remove a card from the selection |
⌘click
|
|
| Select all |
⌘A
|
Excerpting
Excerpts from images, PDFs, and video are supported on Muse for Mac the same way they work on iPad.
| Excerpt |
Select an area and drag to the inbox. ⌥I
|
|
| Source Peek |
Click the circle in the lower-left corner of the excerpt card to see the context in the source. Pinch in or double click to zoom to the source. |
|
Context menu
As you’d expect from a Mac app, you can pull up a context menu in most places.
| Context menu |
Right click with mouse controlclick
|

|
Cards and selections both have context menus showing actions that can be applied to the single card or cards and ink that are selected. A context menu on an open board gives you a set of actions possible there as well.
Drag and drop
Dragging items like text, images, PDFs, and files into Muse should work just as you expect.
Dragging cards or selections out (including to other Muse windows) requires that you hold option before beginning to drag.
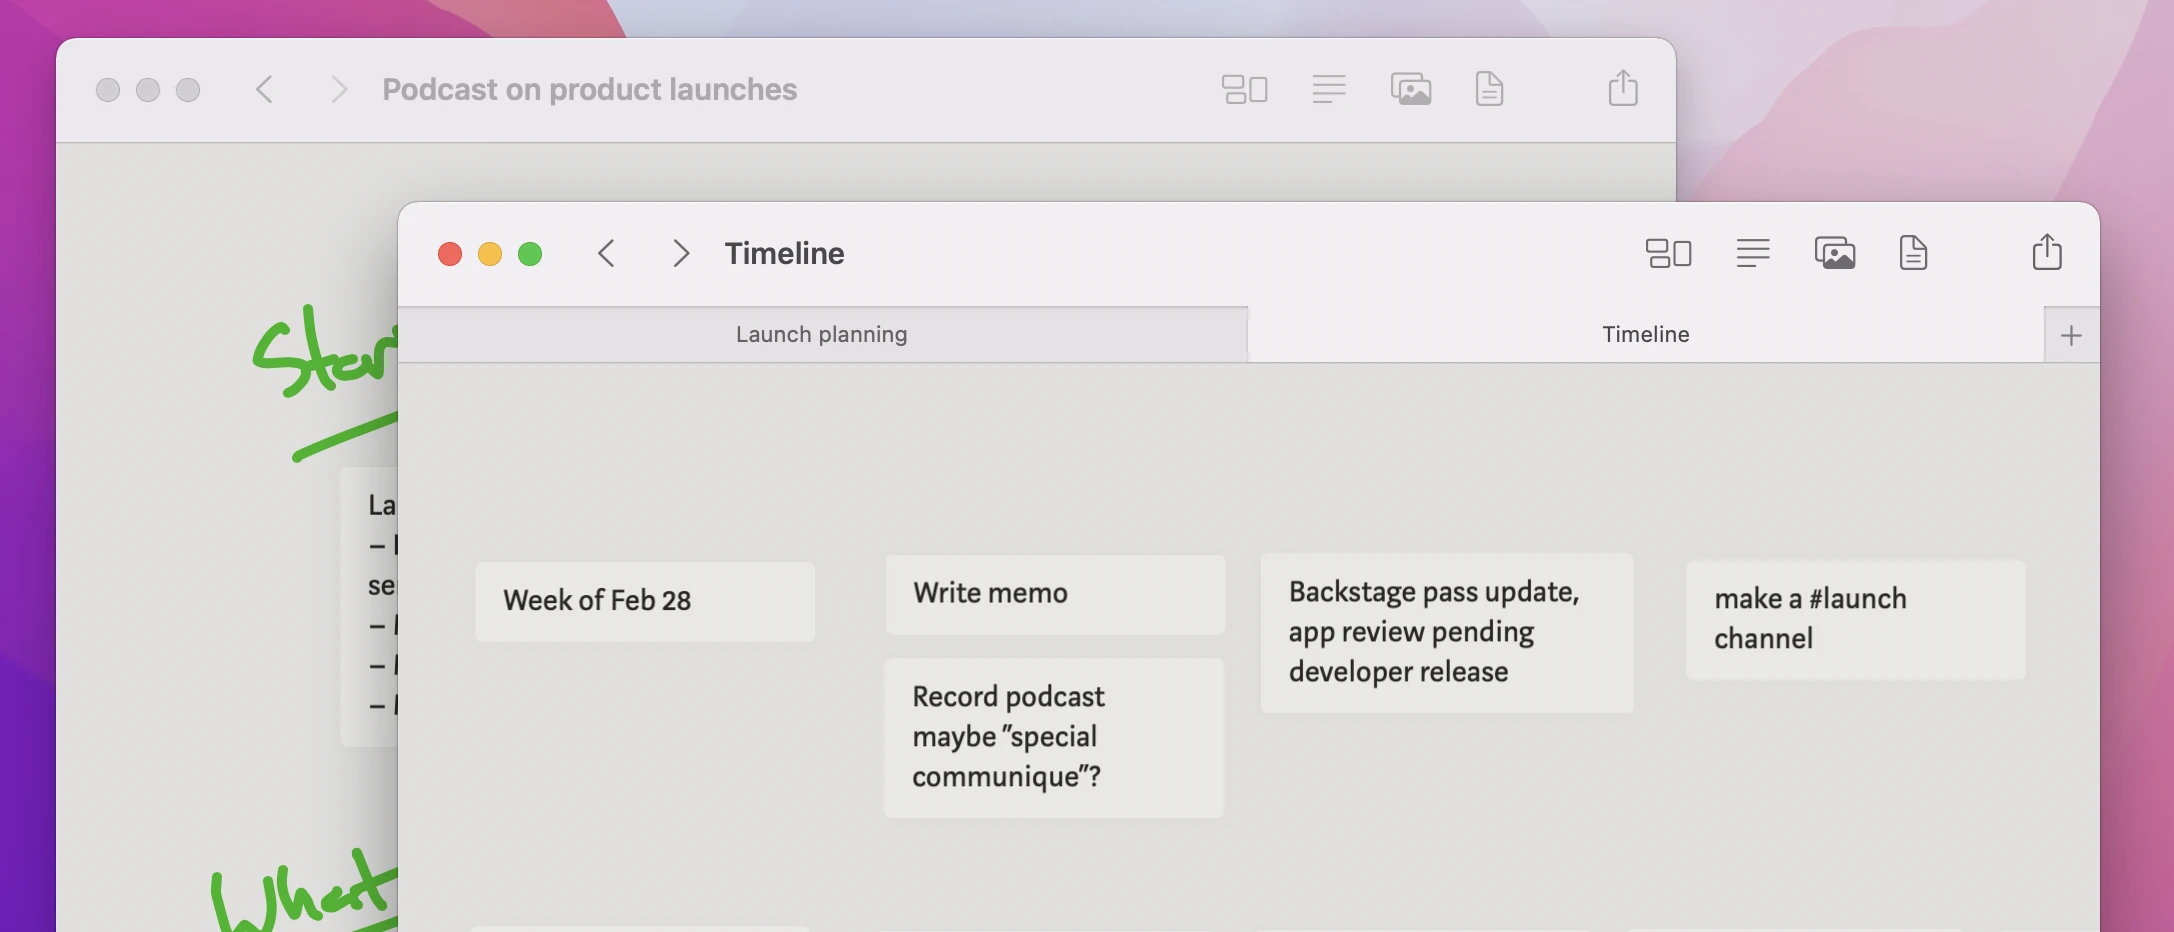
Windows and tabs
iPad is, like all touch devices, optimized for a single app onscreen at a time. With Mac, you may have multiple Muse windows open and multiple tabs within each of those windows.
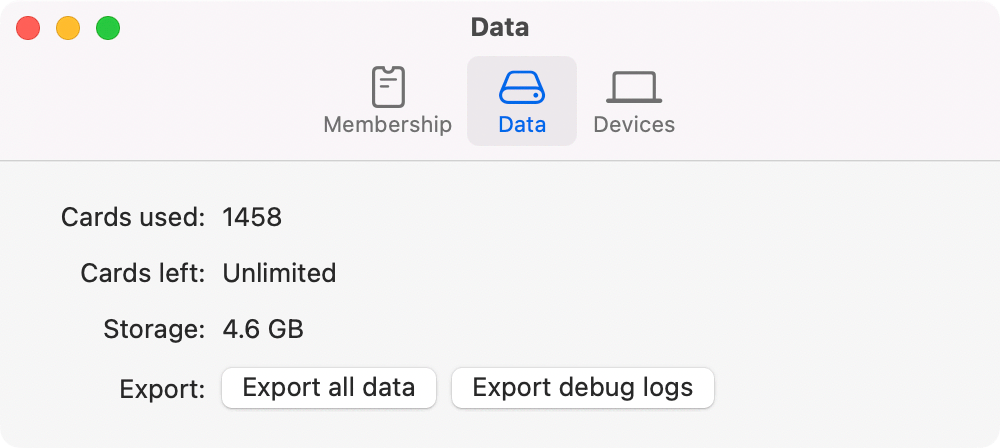
Preferences
From the Preferences pane you can manage your membership, see your data size, export debug logs (useful when reporting bugs to us), and see and manage your connected devices.
Sync
The Muse 2 beta includes native apps for both Mac and iPad, and connects them together via the our syncing service. This allows you to seamlessly switch between the two, using the one that best suits where you are in the thinking process.
Given that, it’s worth digging in a bit to understand how sync works—not at a technical level, but how it impacts your daily work.
Logging in and linking new devices
When you run a fresh install of Muse, you’re presented with a login screen. Use whatever email you like as your account email, as long as it’s the same on all devices.
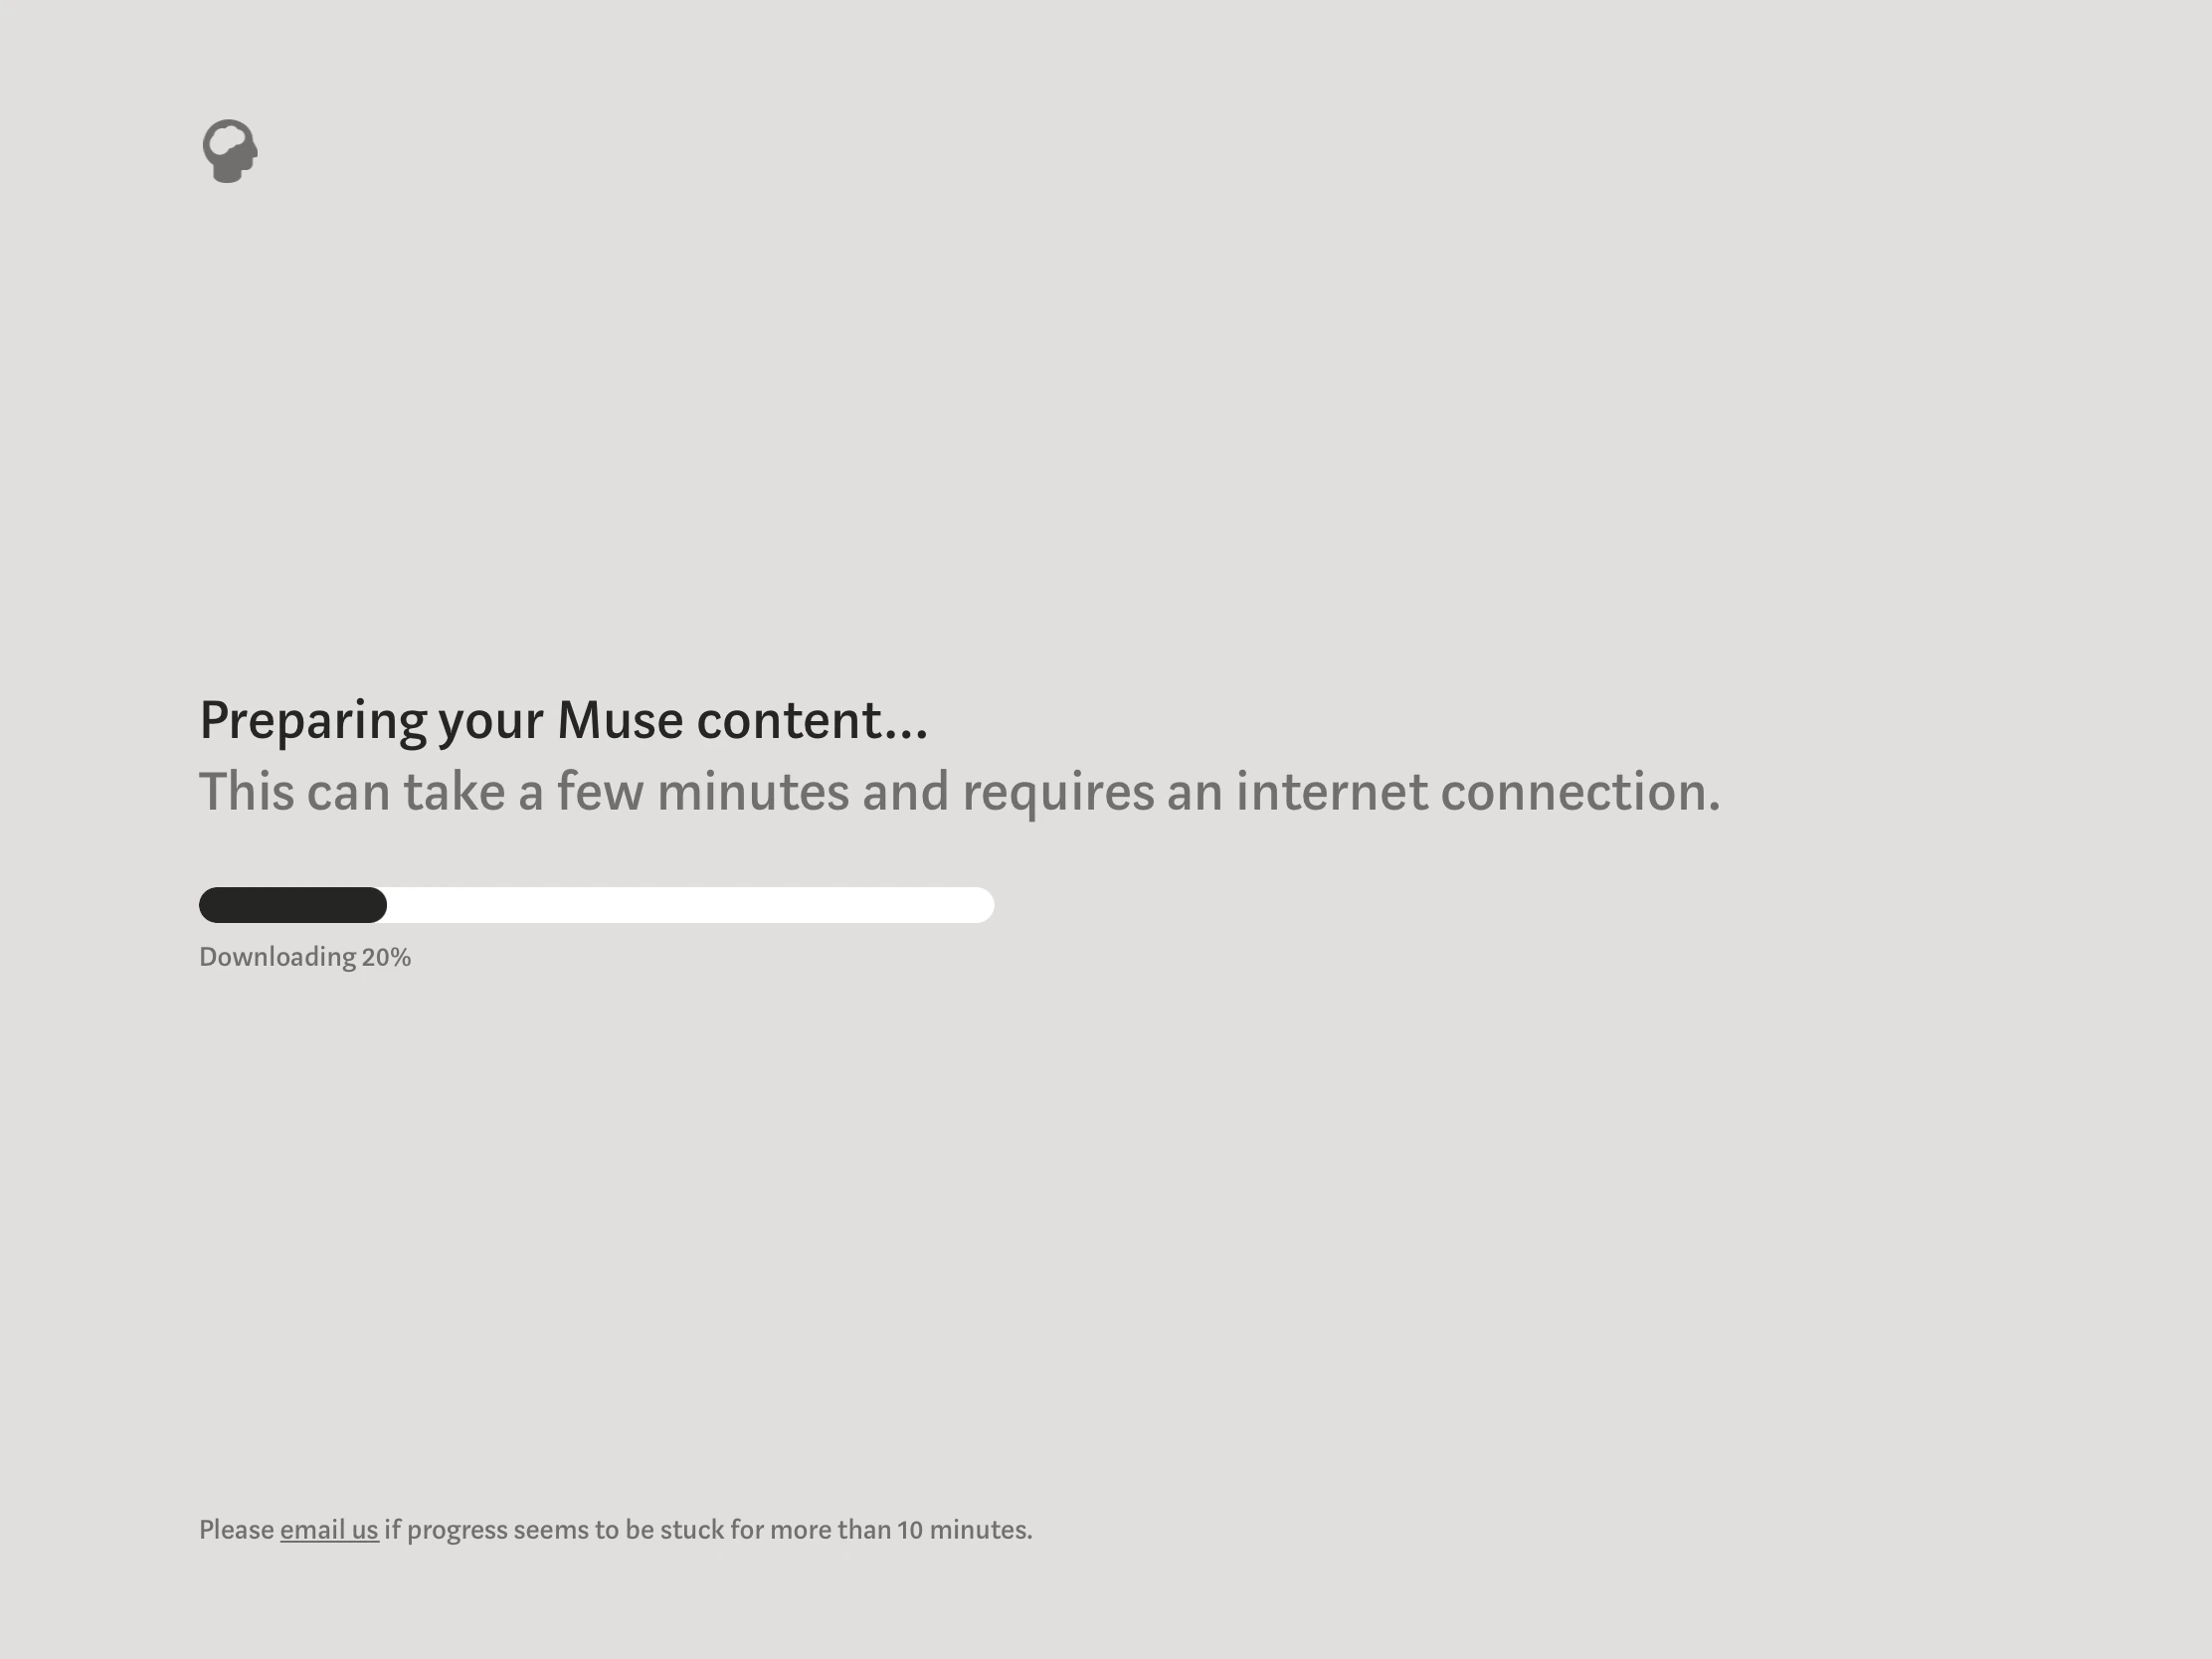
Once logged in, your device will attempt to download your full Muse dataset from our server. (Or if it’s your first login to Muse 2, you’ll get a small set of sample content.) This step is the only one that requires a network connection.
Working online and offline
Any change you make to your Muse content—adding an image, moving a card, drawing with your Pencil—is added to the list of edits stored locally on your device. When you’re online, those edits will be uploaded immediately.
If you disconnect (which you can try by putting your iPad into Airplane Mode or turning off the wifi on your Mac), everything will continue to work as normal. Moving cards, adding content, excerpting—you’ll never see a spinner, never be stuck waiting to connect before you can continue. Once you reconnect, all your edits will be uploaded.
Sync status
You can see whether you are connected to the Muse sync service with the grey circle in the upper right (iPad) or lower right (Mac). A filled circle means connected, an outline circle means not connected.
If you tap or click the circle, you’ll be presented with a network panel that our team uses for debugging. This is a behind-the-scenes look just for Pro members; we plan to simplify this in the public release.
Here you can see the upload and download progress of packs (small metadata items like ink, text, card size and position) and blobs (larger binary data like photos, videos, and PDFs). Leave the network panel open while you’re working and you’ll see the numbers reflect your sync activity.
Logging out and unlinking devices
If you wish to remove the current device from your account, use the Log out option (in Settings on iPad, and Preferences on Mac). This will delete all of your local data on this device.
If you gave away, sold, or lost one of your devices and wish to remove it from your Muse sync, go to Settings → Devices (iPad) or Preferences → Devices (Mac).
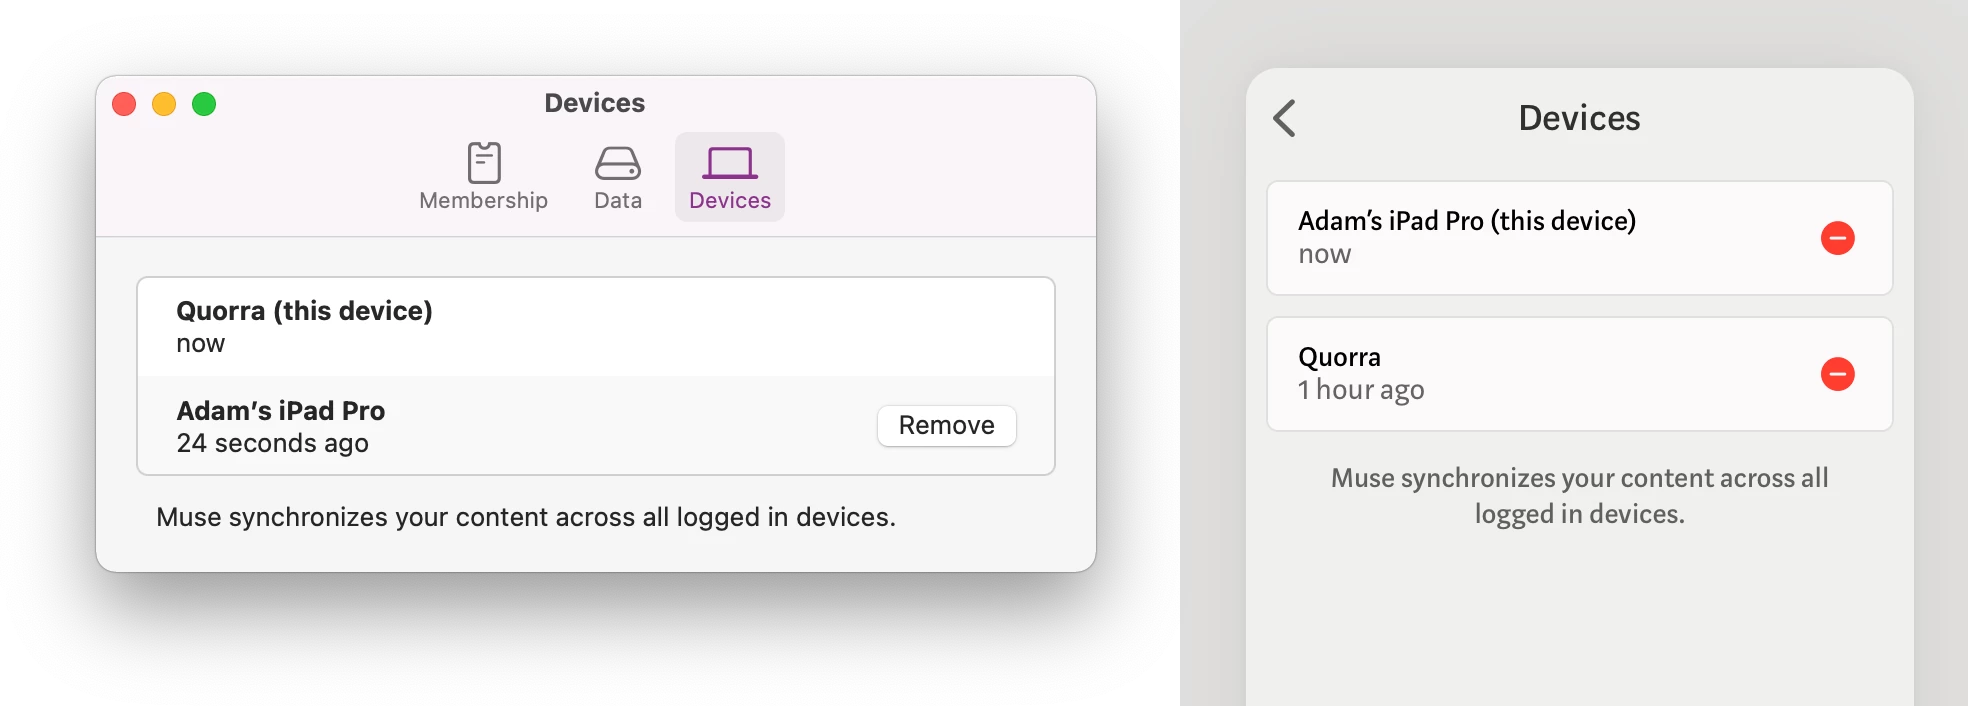
Click “Remove” or tap the red circle to remove the device. This will attempt a remote self-destruct: the next time that device connects to the Muse sync service (when Muse app is open while connected to the internet), it will log out including deleting all data on that device.
Conclusion
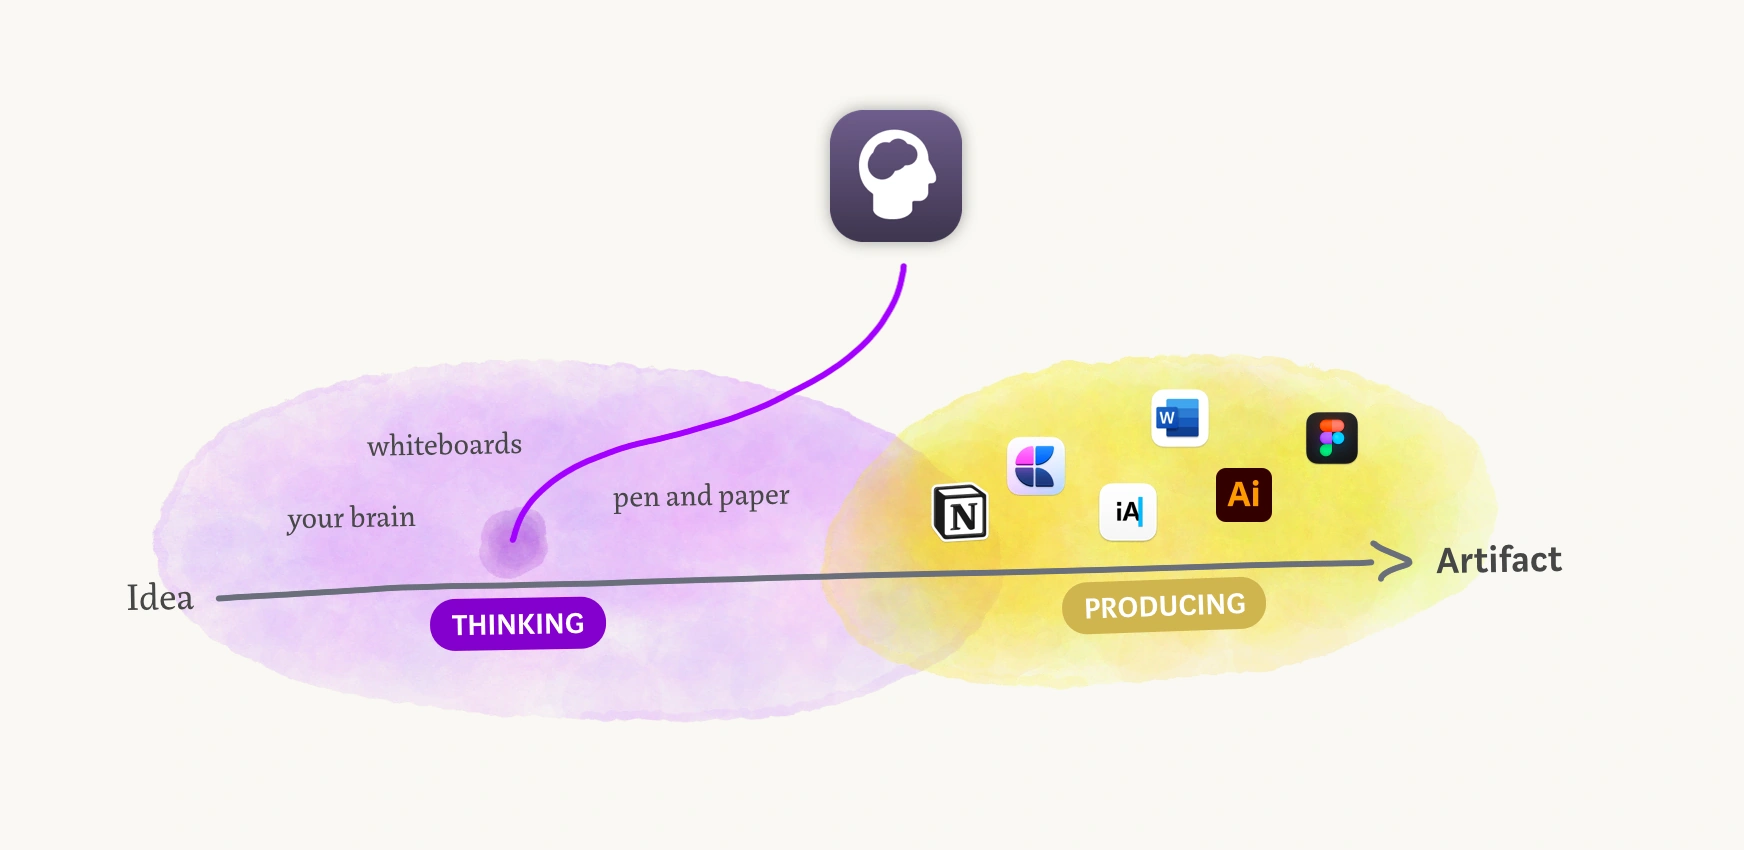
We’ve been using the Muse 2 beta, including Muse for Mac, internally on our team for the last couple of months. We’ve already seen how it can unlock new workflows, such as ease of transition from the thinking stage of a project to the production phase.
Now we’re excited to share it with all of you. Give it a try and send us your feedback.
Update: Muse for Mac is now available to everyone.